
Bespoke Design & Planning

Over 12 Years of Experience

Free Consultation & Itemised Quotes

Full Cost Transparency & Project Management

Insurance Backed Warranty
Bespoke Design & Planning
Over 12 Years of Experience
Free Consultation & Itemised Quotes
Full Cost Transparency & Project Management
Insurance Backed Warranty
Designing the Ideal Loft Conversion for your 1930s Home
You have the perfect 1930s home, and the beautiful and accessible locality. All you need is a little extra space.
But renovating or extending your 1930s home is not always straightforward. You may not want to make significant changes to the original home or sacrifice the garden space available for extensions.
This is why loft conversions offer the ideal solution. Utilising the roof space available to create beautiful rooms that add space, value, and comfort to your home without compromising on its unique architecture and specific style.
A 1930s loft conversion is essentially a chance for you to increase the square footage of your 1930s home, by transforming your roof space into valuable living space. This loft conversion allows homeowners to design and create beautiful additional bedrooms, perfect private home offices, or cosy and comfortable reading nooks.
Loft conversions come in many shapes and forms. The primary consideration when designing a loft conversion is the structure of the existing roof.
Most 1930s homes have spacious roofs that allow for easy loft conversions. The best loft conversion styles for 1930s homes include:
Velux loft conversions
Ideal for homes which have a roof height of at least 2.3m, these loft conversions essentially involve the installation of roof windows (or Velux windows) into the pitch of the roof. A staircase, additional insulation, and floor reinforcements then help convert this roof space into a quick, simple, and beautiful loft room.
The bright and airy space created make Velux loft conversions perfect for a guest bedroom, playroom, or even a spacious bathroom.
Dormer loft conversions
This type of loft conversion involves vertically extending the roof thereby creating additional headroom and floor space. This results in the creation of a much larger living space that may be used to design multiple rooms or bedrooms with en-suites.
Dormer roofs are highly versatile and may be constructed at the front, side, or rear of the property. They may even be combined to give rise to an L-shaped dormer extension.
Hip-to-gable loft conversions
Hip-to-gable conversions involve transforming the slope of a hip roof into a gable-style roof with a vertical wall. Though more complex to construct, this type of conversion adds considerable floor space and head room, allowing the creation of multiple additional rooms within.
Unless significant changes are made to the structure and exterior of your home, most loft conversions fall under permitted developments. Some of the other criteria and specifications for permitted developments include:
- The property must not be listed or located in a conservation area
- The loft conversion must not exceed the height of the existing roof
- The loft conversion must not include balconies, verandas, or raised platforms
- Side-facing windows must be obscure glazed
- Volume of enlargement must not exceed the original roof space by more than 40 cubic metres for terraced houses (and 50 cubic metres for other house types)
If planning permission is required, a comprehensive application must be submitted which includes detailed plans of the proposed design.
In addition to planning permission, building regulations approval and party wall agreements also need to be considered to ensure that the loft conversion meets building guidelines and standards.
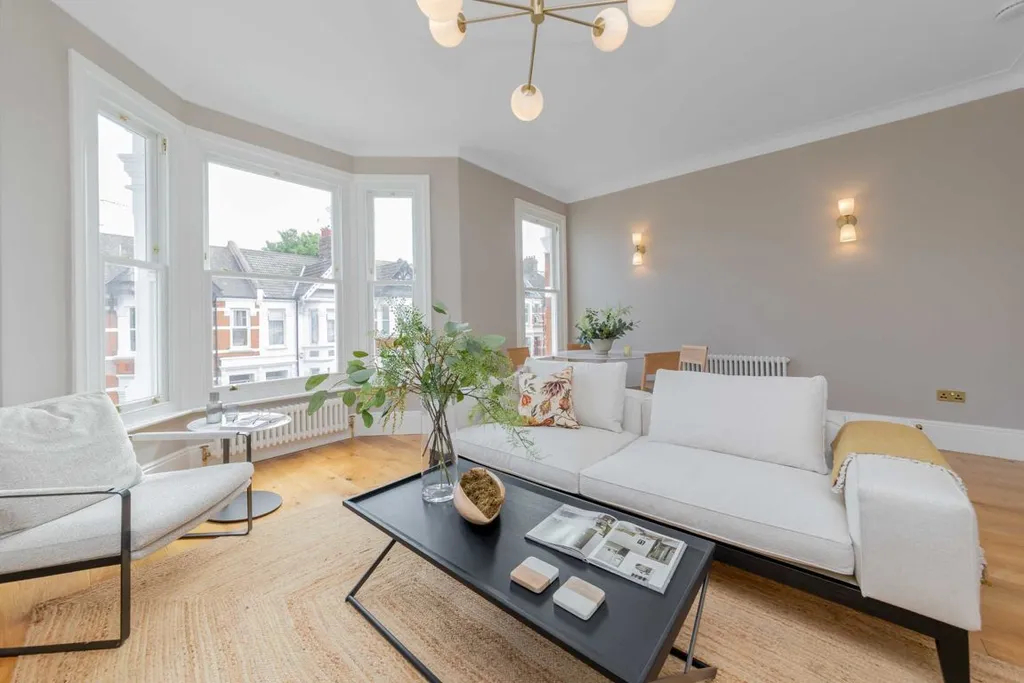
Loft conversions are synonymous with versatility; and their designs can be as varied and unique as your requirements. While the space available does impact the type and style of rooms created (from single rooms to an entire new storey), some of the most popular rooms created from loft conversions include:
- Bedrooms
- Bathrooms/ En-suites
- Home offices
- Library/ Study corners
- Playrooms
- Home gyms
- Walk-in wardrobes
With feature walls, bespoke interiors, and fabulous views, it is also easy to make the newly-created space into one that perfectly complements your individual style.
The cost of a loft conversion in London can range from £20,000 to £120,000. This range is a clear representation of the myriad of factors that affect the cost of the conversion.
Naturally the complexity of the loft conversion, and the amount of structural work involved, play a significant role in the overall cost of the build. Other factors that influence the budget include:
- Location
- Building materials
- Fittings and fixtures
- Insulation
The style of the room you hope to design also affects the cost of the project. For example, creating a bathroom with all the plumbing requirements and fittings would be more expensive than designing a modest home office.
And while loft conversions significantly increase the value of your home, it would be prudent to check the ceiling price of properties in your neighbourhood to ensure that you do not overspend on the loft conversion build.
Owning a 1930s home is akin to owning a piece of history; and undertaking a loft conversion on this property comes with great responsibility. To ensure that your loft conversion seamlessly integrates with the existing structure, adds much-needed living space, and maintains its architectural integrity, you need the best help and expert advice.
This is where Good Design and Build come in.
We are the leading loft conversion experts in London, specialising in renovating 1920 and 1930s homes. Our decades of experience and unmatched expertise help us design and create beautiful, bespoke loft conversions that exceed your expectations and are of impeccable standards.
Our team of experts comprise of surveyors, architects, builders, technicians, and project managers. So, every aspect of the design and build is carefully overseen by us, from start to finish, allowing you to enjoy the process and the experience.
Our passion, professionalism, and precision leave nothing to chance, and help us create exceptional loft conversions that are a true match for your 1930s home.
How we deliver projects
Our process is simple and divided into two distinct phases with separate contracts: Design and Build. As a client you only commit to one phase at a time depending on what stage of the process you are in. Each phase consists of three stages as described below.
1. Design
This is the kick-off point for your project. We carry out a complete architectural measured survey of the property. This allows us to create accurate CAD design drawings. This is followed by a design meeting to start discussing your ideas in more detail.
2. Planning
At this stage we finalise the designs with you and start preparing planning applications as needed. We place a high priority on ensuring that plans, designs and schedules are all based on a thorough and detailed understanding of planning guidelines. We co-ordinate with local authorities until the decision is made, and the planning approval is secured.
3. Technical
Once the planning consent is secured, we translate the design drawings into more detailed technical drawings for the purposes of building control and construction. This also includes specifications and structural calculations. At this stage, we will also submit to you our ‘no obligation’ quote for the build phase.
4. Pre-build
90% of our clients decide to stick with us after the design phase is completed. Once the build contract is signed, we kick off the process by making sure all the pre-build processes are complete. These include assistance with party wall agreements, Thames Water build over agreement, submitting building control application, and preparing method statements etc as needed. This stage ends with a pre-start meeting with your foreman before the actual build begins.
5. Build
One of our foremen will be dedicated to your project and will be on-site to manage everyday works. Our project managers will be overseeing the works to make sure they are completed to high standards, within your budget and on time. Throughout the process we will keep you updated with the progress and coordinate the works with third parties such as kitchen or flooring suppliers. We will also advise and guide you to choose any suppliers if needed.
6. Handover
As the build draws to finish, we will help to iron out any ‘snags’ to make sure everything is completed to your satisfaction. We will put together all necessary certificates such as gas, electricity and building control completion along with warranties for glazing, boiler etc. At the final completion meeting, we will hand you these documents, together with the keys to your house. Needless to say, you can contact us any time after this, if you want us to look at something.
This is the kick-off point for your project. We carry out a complete architectural measured survey of the property. This allows us to create accurate CAD design drawings. This is followed by a design meeting to start discussing your ideas in more detail.
At this stage we finalise the designs with you and start preparing planning applications as needed. We place a high priority on ensuring that plans, designs and schedules are all based on a thorough and detailed understanding of planning guidelines. We co-ordinate with local authorities until the decision is made, and the planning approval is secured.
Once the planning consent is secured, we translate the design drawings into more detailed technical drawings for the purposes of building control and construction. This also includes specifications and structural calculations. At this stage, we will also submit to you our ‘no obligation’ quote for the build phase.
90% of our clients decide to stick with us after the design phase is completed. Once the build contract is signed, we kick off the process by making sure all the pre-build processes are complete. These include assistance with party wall agreements, Thames Water build over agreement, submitting building control application, and preparing method statements etc as needed. This stage ends with a pre-start meeting with your foreman before the actual build begins.
One of our foremen will be dedicated to your project and will be on-site to manage everyday works. Our project managers will be overseeing the works to make sure they are completed to high standards, within your budget and on time. Throughout the process we will keep you updated with the progress and coordinate the works with third parties such as kitchen or flooring suppliers. We will also advise and guide you to choose any suppliers if needed.
As the build draws to finish, we will help to iron out any ‘snags’ to make sure everything is completed to your satisfaction. We will put together all necessary certificates such as gas, electricity and building control completion along with warranties for glazing, boiler etc. At the final completion meeting, we will hand you these documents, together with the keys to your house. Needless to say, you can contact us any time after this, if you want us to look at something.
What Our Clients Say

Thank you to Amol and his entire team
“Thank you to Amol and his entire team for delivering us a fantastic extension to our newly purchased home. The guys were friendly and very professional during all stages”
Lisa
Twickenham TW2
Thank you Good Design & Build…
“Originally, we’d planned on this being a property to rent out to others. Since the loft conversion, we’ve fallen back in love with the place – and have now decided to move back here.”
George Banks
Richmond TW10
I would like to thank GDB…
“I would like to thank GDB for all of their hard work, ideas and inspiration and for being so approachable and easy to deal with during the our rear extension. I would happily recommend them to anyone thinking of starting a building project”
Debra
Mortlake SW14
My wife and I would like to say a huge thank you
“My wife and I would like to say a huge thank you to all the team at Good Design & Build. From the planning stage all the way through to completion they were meticulous with their design and helping us achieve our vision of our dream family home. We were supported all the way through, even when we wanted to make significant structural changes during the build. We are over the moon with the results achieved and quality of the building work and finishing is excellent. THANK YOU GOOD DESIGN & BUILD!!”
Xerxes Dalal
Potters Bar EN6
Good Design provided the architectural services
“Good Design provided the architectural services as well as building work. It was great to have both bundled into one. They were very flexible and great to work with - nothing was too much trouble. I would highly recommend them.”
Louise Murray
Twickenham TW1
We thoroughly enjoyed working with Amol
“We thoroughly enjoyed working with Amol and the Good Design & Build team on our recent house extension. We've been so happy with how the team helped design, plan and deliver the extension. Always very patient and informative of how the process will run, the team did a fantastic job and we're delighted with the results. The biggest compliment I can give them is that I'd happily work with Amol and the team again :).”
Benjamin Hammond
Twickenham TW11
Featured Projects
Harlesden
Sellons Ave NW10 4HJ
The project included creating a master bedroom in the loft with an adjoining terrace.
Learn more
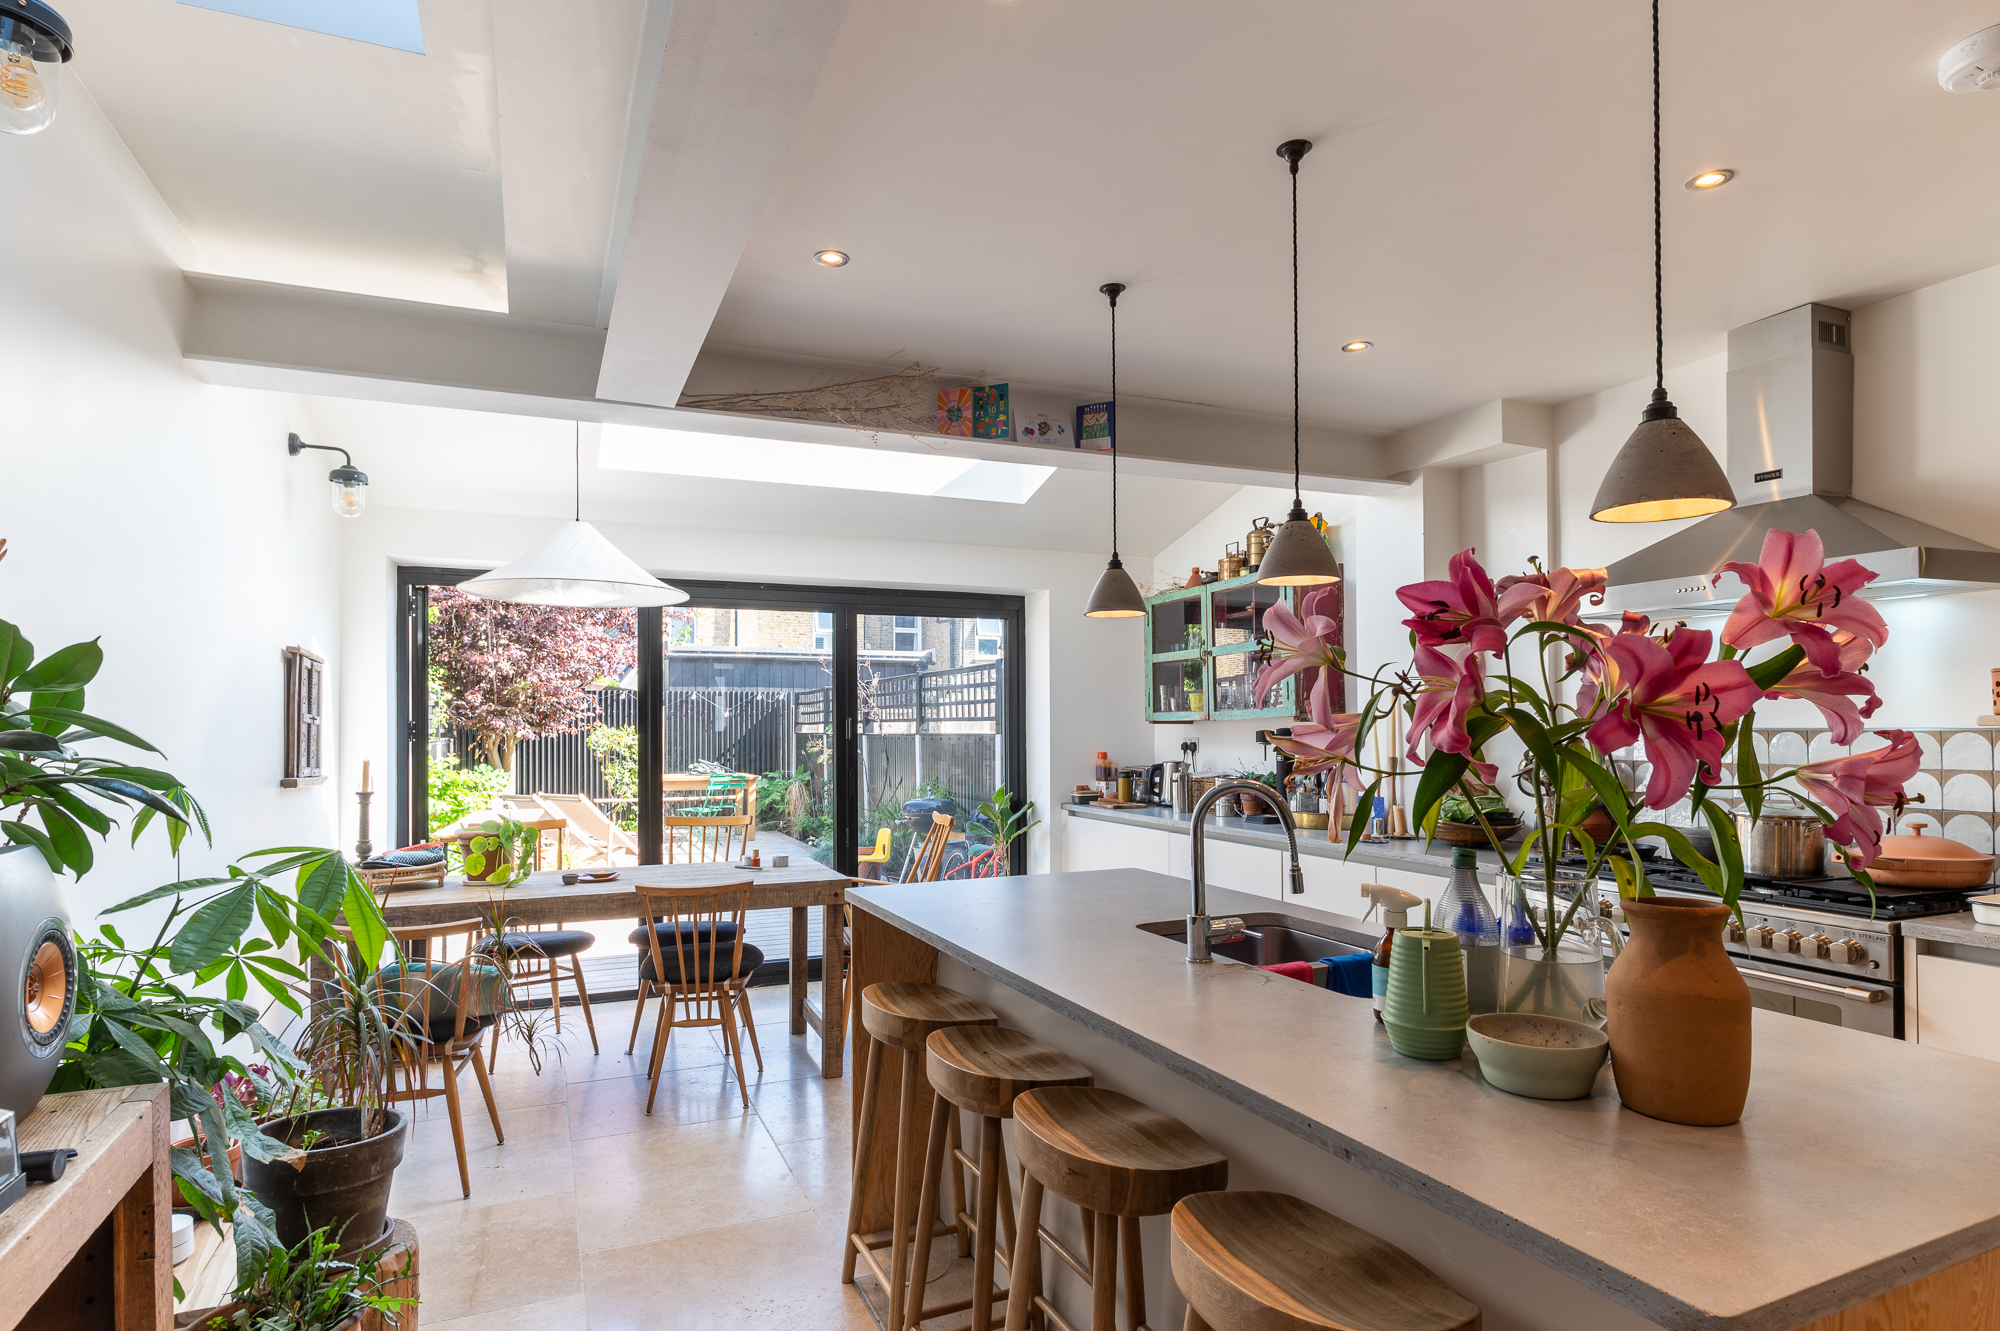
Fulham
Orbain Road SW6 7JZ
This project was completed in 2023 and the approximate budget was £101,000.
Learn more

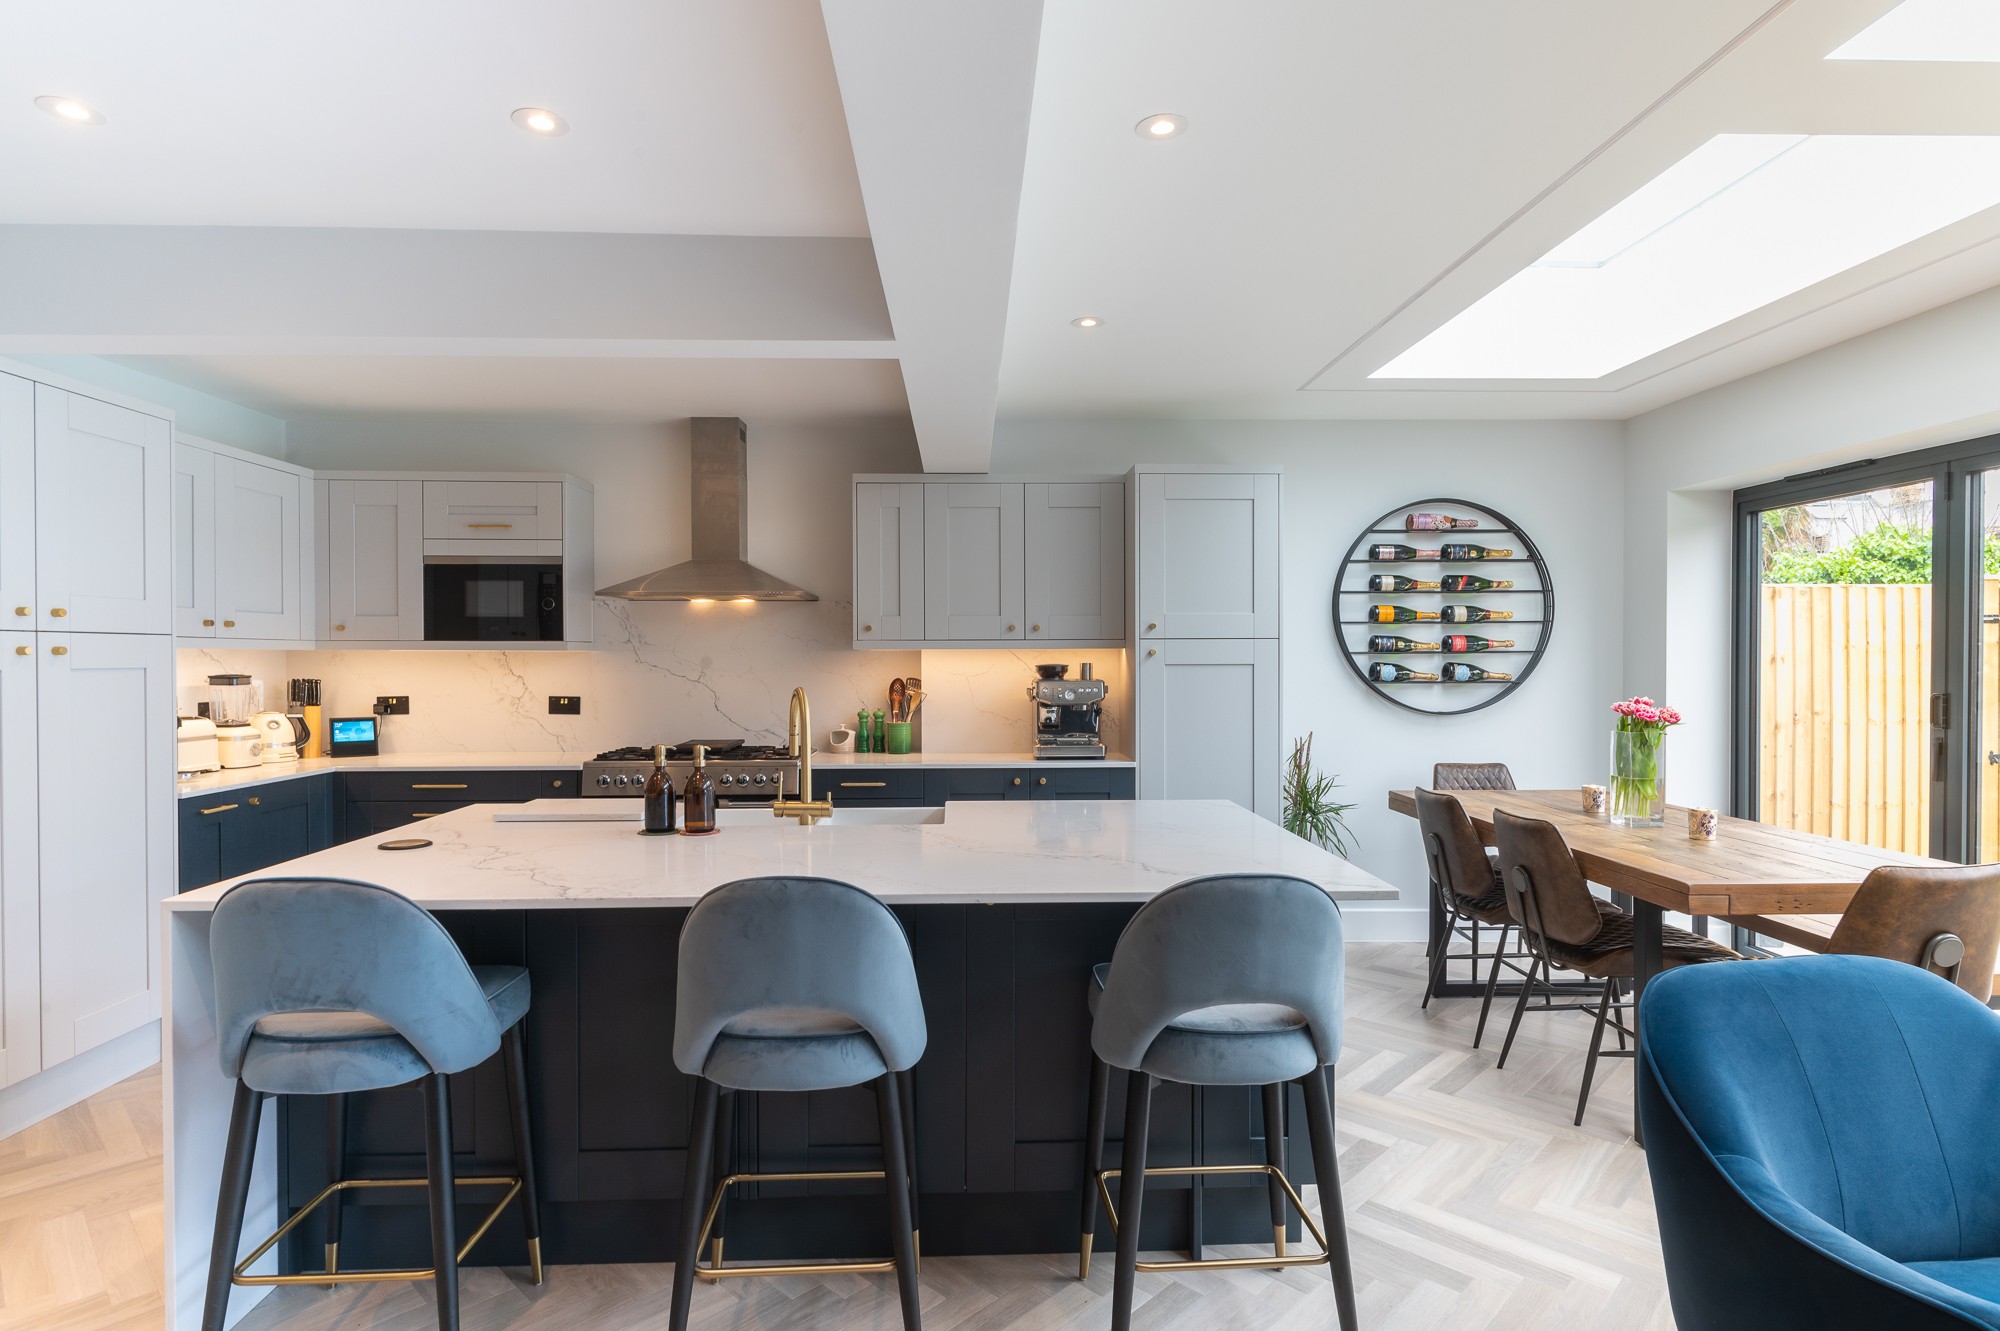
Lambeth
Hetherington Road SW4
We completed this stunning project for our client Angus in Lambeth.
Learn more
Teddington
Station Road SW4 7PA
We completed this exciting project for our clients on Station Road, a quaint residential area in the heart of Teddington.
Learn more
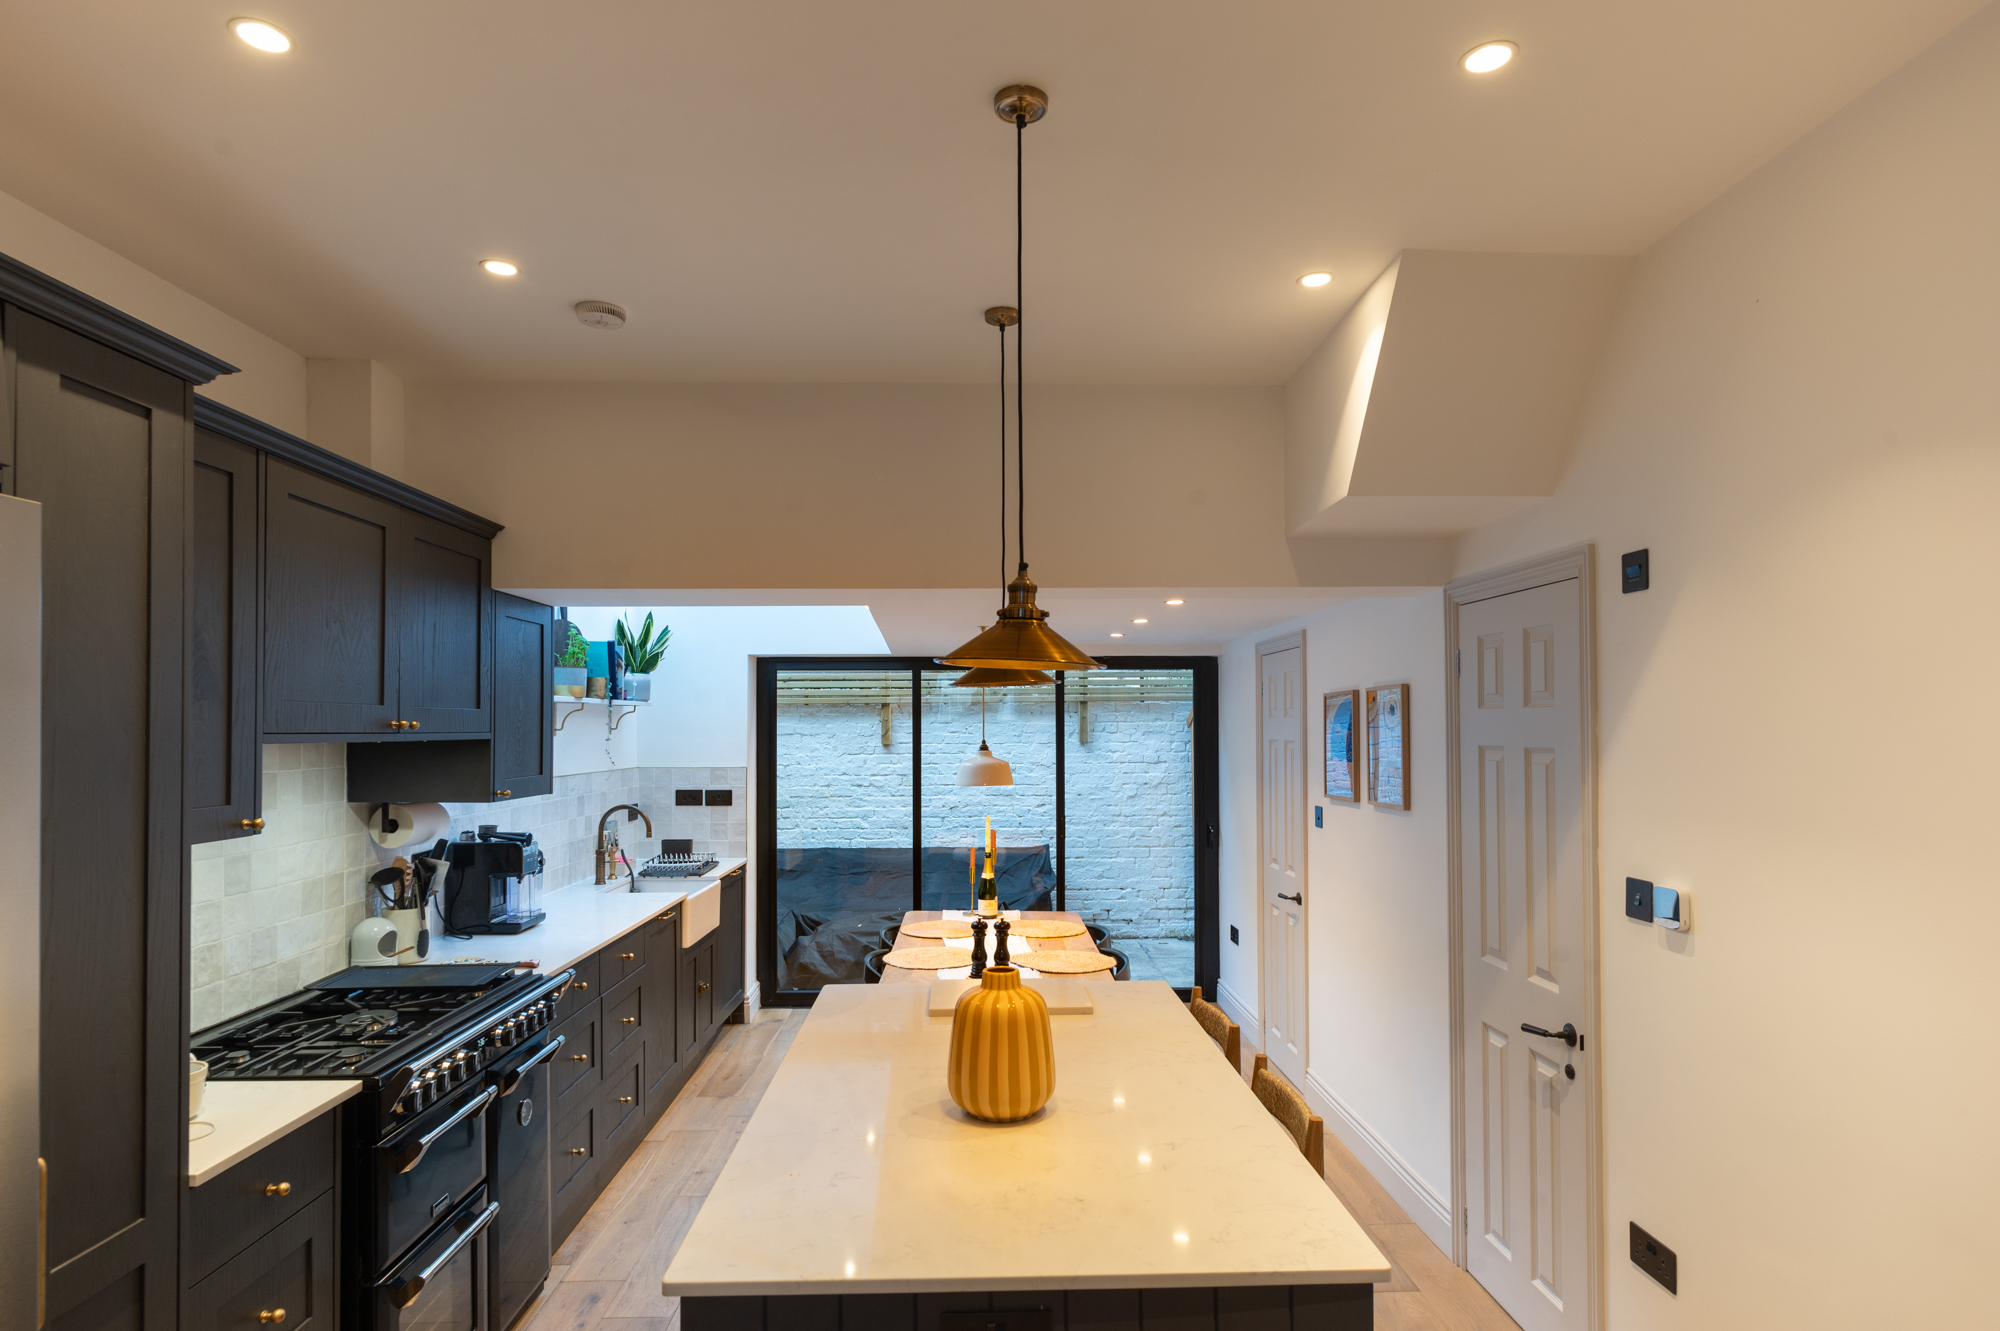
Leyton
Windsor Road E10
We completed this kitchen extension on Windsor Road, a charming residential street nestled in the heart of Leyton.
Learn more
Harlesden
Sellons Ave NW10 4HJ
The project included creating a master bedroom in the loft with an adjoining terrace.
Learn more
Fulham
Orbain Road SW6 7JZ
This project was completed in 2023 and the approximate budget was £101,000.
Learn more
Lambeth
Hetherington Road SW4
We completed this stunning project for our client Angus in Lambeth.
Learn more
Teddington
Station Road SW4 7PA
We completed this exciting project for our clients on Station Road, a quaint residential area in the heart of Teddington.
Learn more
Leyton
Windsor Road E10
We completed this kitchen extension on Windsor Road, a charming residential street nestled in the heart of Leyton.
Learn more
