Usually, these do not require planning permission. These are considered Permitted Development. However, you should seek planning permission if:
They are simply the most popular loft conversions in the UK
These extensions rise vertically from the existing roof, creating floor space and comfortable headroom. Most resemble a box with a flat roof; others have a hipped roof or a gable front. The walls sit at a 90° angle projecting from the pitched roof. The versatility of this type of loft conversions means you can add them to semi-detached, detached, terraced, and end of terrace houses. They have the potential to create space upwards without using up your home’s exterior space, and the building work is less-disruptive.
Now let’s talk types of dormer loft conversions you can choose from, to transform your home;
Good head height and bigger floor space are the twin attractions of this type of conversion. The structure can feature at the front or the rear of the property. Two on both ends can double the extra space. The extended height of the roof enables ample sunlight to stream through from dormer windows. The simplicity of the design makes it one of the most affordable dormer conversion types.
These, too, have a flat single-planed roof, but it slightly slopes downward at an angle. The ideal contenders for this type of loft conversions are homes with a gable roof. A gable roof has two sections sloping in opposite directions and forms a ridge where the highest horizontal edges meet. As the pitch of the dormer is shallower than the main roof, a different roofing material becomes more suitable.
This type of dormer is more aesthetically pleasing. It resembles a fancy version of a dog house, hence its nickname. This design has a gable wall built up to the existing roof ridge. A ‘gable’ is the triangular upper end of a wall where the two sloping sides of a pitched roof meet. Walls that form a ‘gable’ are called gable walls. A new sloping roof section reaches outwards to the gable end. The front of the dormer gets elevated to a point at the dormer roof ridge.
The convergence of three sloping planes of a hipped roof at the ridge of the dormer makes this loft conversion all about elegance. But, where it succeeds in aesthetics, it does not excel in additional space like a flat roof dormer or a shed roof dormer. A hipped roof is one with all sides sloping downwards and has no vertical sides. The external angle that connects the adjacent sloping sides of the roof is called a hip. These dormer types provide extra ventilation, and snow and sleet will drift off easily from the sloping roof.
- Your property is within a heritage area, a conservation area, a national park, or an Area of Outstanding Natural Beauty. In such cases, local authorities need to approve your project proposal.
- Additional roof space for a terraced house exceeds 40 cubic metres.
- Additional roof space for a detached and semi-detached home exceeds 50 cubic metres.
- The extension faces the highway and reaches beyond the current roof slope of the principal elevation.
- The dormer loft consists of a balcony, verandah, or raised platform.
2.2 metres is the minimum head height required for loft conversions. We provide the best-suited solution for your home to meet the safety standards when we do a free home inspection.
Dormer windows and skylights bring in plenty of natural light. As per building regulations, if side facing windows fronting neighbouring houses are on your plans, these should have obscured glass. Rear-facing windows are free from this regulation. You can also add a balcony for more versatility. A romantic Juliet balcony can give you superior lighting, views, and ventilation.
Simply put, we have the expertise and the best people in the business. Our architects, engineers, technicians, and skilled builders are meticulous in their envisioning, planning, and implementing.
Convert your loft for affordable additional space with dormer conversions, give your home more usable space.
How we deliver projects
Our process is simple and divided into two distinct phases with separate contracts: Design and Build. As a client you only commit to one phase at a time depending on what stage of the process you are in. Each phase consists of three stages as described below.
1. Design
This is the kick-off point for your project. We carry out a complete architectural measured survey of the property. This allows us to create accurate CAD design drawings. This is followed by a design meeting to start discussing your ideas in more detail.
2. Planning
At this stage we finalise the designs with you and start preparing planning applications as needed. We place a high priority on ensuring that plans, designs and schedules are all based on a thorough and detailed understanding of planning guidelines. We co-ordinate with local authorities until the decision is made, and the planning approval is secured.
3. Technical
Once the planning consent is secured, we translate the design drawings into more detailed technical drawings for the purposes of building control and construction. This also includes specifications and structural calculations. At this stage, we will also submit to you our ‘no obligation’ quote for the build phase.
4. Pre-build
90% of our clients decide to stick with us after the design phase is completed. Once the build contract is signed, we kick off the process by making sure all the pre-build processes are complete. These include assistance with party wall agreements, Thames Water build over agreement, submitting building control application, and preparing method statements etc as needed. This stage ends with a pre-start meeting with your foreman before the actual build begins.
5. Build
One of our foremen will be dedicated to your project and will be on-site to manage everyday works. Our project managers will be overseeing the works to make sure they are completed to high standards, within your budget and on time. Throughout the process we will keep you updated with the progress and coordinate the works with third parties such as kitchen or flooring suppliers. We will also advise and guide you to choose any suppliers if needed.
6. Handover
As the build draws to finish, we will help to iron out any ‘snags’ to make sure everything is completed to your satisfaction. We will put together all necessary certificates such as gas, electricity and building control completion along with warranties for glazing, boiler etc. At the final completion meeting, we will hand you these documents, together with the keys to your house. Needless to say, you can contact us any time after this, if you want us to look at something.
This is the kick-off point for your project. We carry out a complete architectural measured survey of the property. This allows us to create accurate CAD design drawings. This is followed by a design meeting to start discussing your ideas in more detail.
At this stage we finalise the designs with you and start preparing planning applications as needed. We place a high priority on ensuring that plans, designs and schedules are all based on a thorough and detailed understanding of planning guidelines. We co-ordinate with local authorities until the decision is made, and the planning approval is secured.
Once the planning consent is secured, we translate the design drawings into more detailed technical drawings for the purposes of building control and construction. This also includes specifications and structural calculations. At this stage, we will also submit to you our ‘no obligation’ quote for the build phase.
90% of our clients decide to stick with us after the design phase is completed. Once the build contract is signed, we kick off the process by making sure all the pre-build processes are complete. These include assistance with party wall agreements, Thames Water build over agreement, submitting building control application, and preparing method statements etc as needed. This stage ends with a pre-start meeting with your foreman before the actual build begins.
One of our foremen will be dedicated to your project and will be on-site to manage everyday works. Our project managers will be overseeing the works to make sure they are completed to high standards, within your budget and on time. Throughout the process we will keep you updated with the progress and coordinate the works with third parties such as kitchen or flooring suppliers. We will also advise and guide you to choose any suppliers if needed.
As the build draws to finish, we will help to iron out any ‘snags’ to make sure everything is completed to your satisfaction. We will put together all necessary certificates such as gas, electricity and building control completion along with warranties for glazing, boiler etc. At the final completion meeting, we will hand you these documents, together with the keys to your house. Needless to say, you can contact us any time after this, if you want us to look at something.
What Our Clients Say
Featured Projects
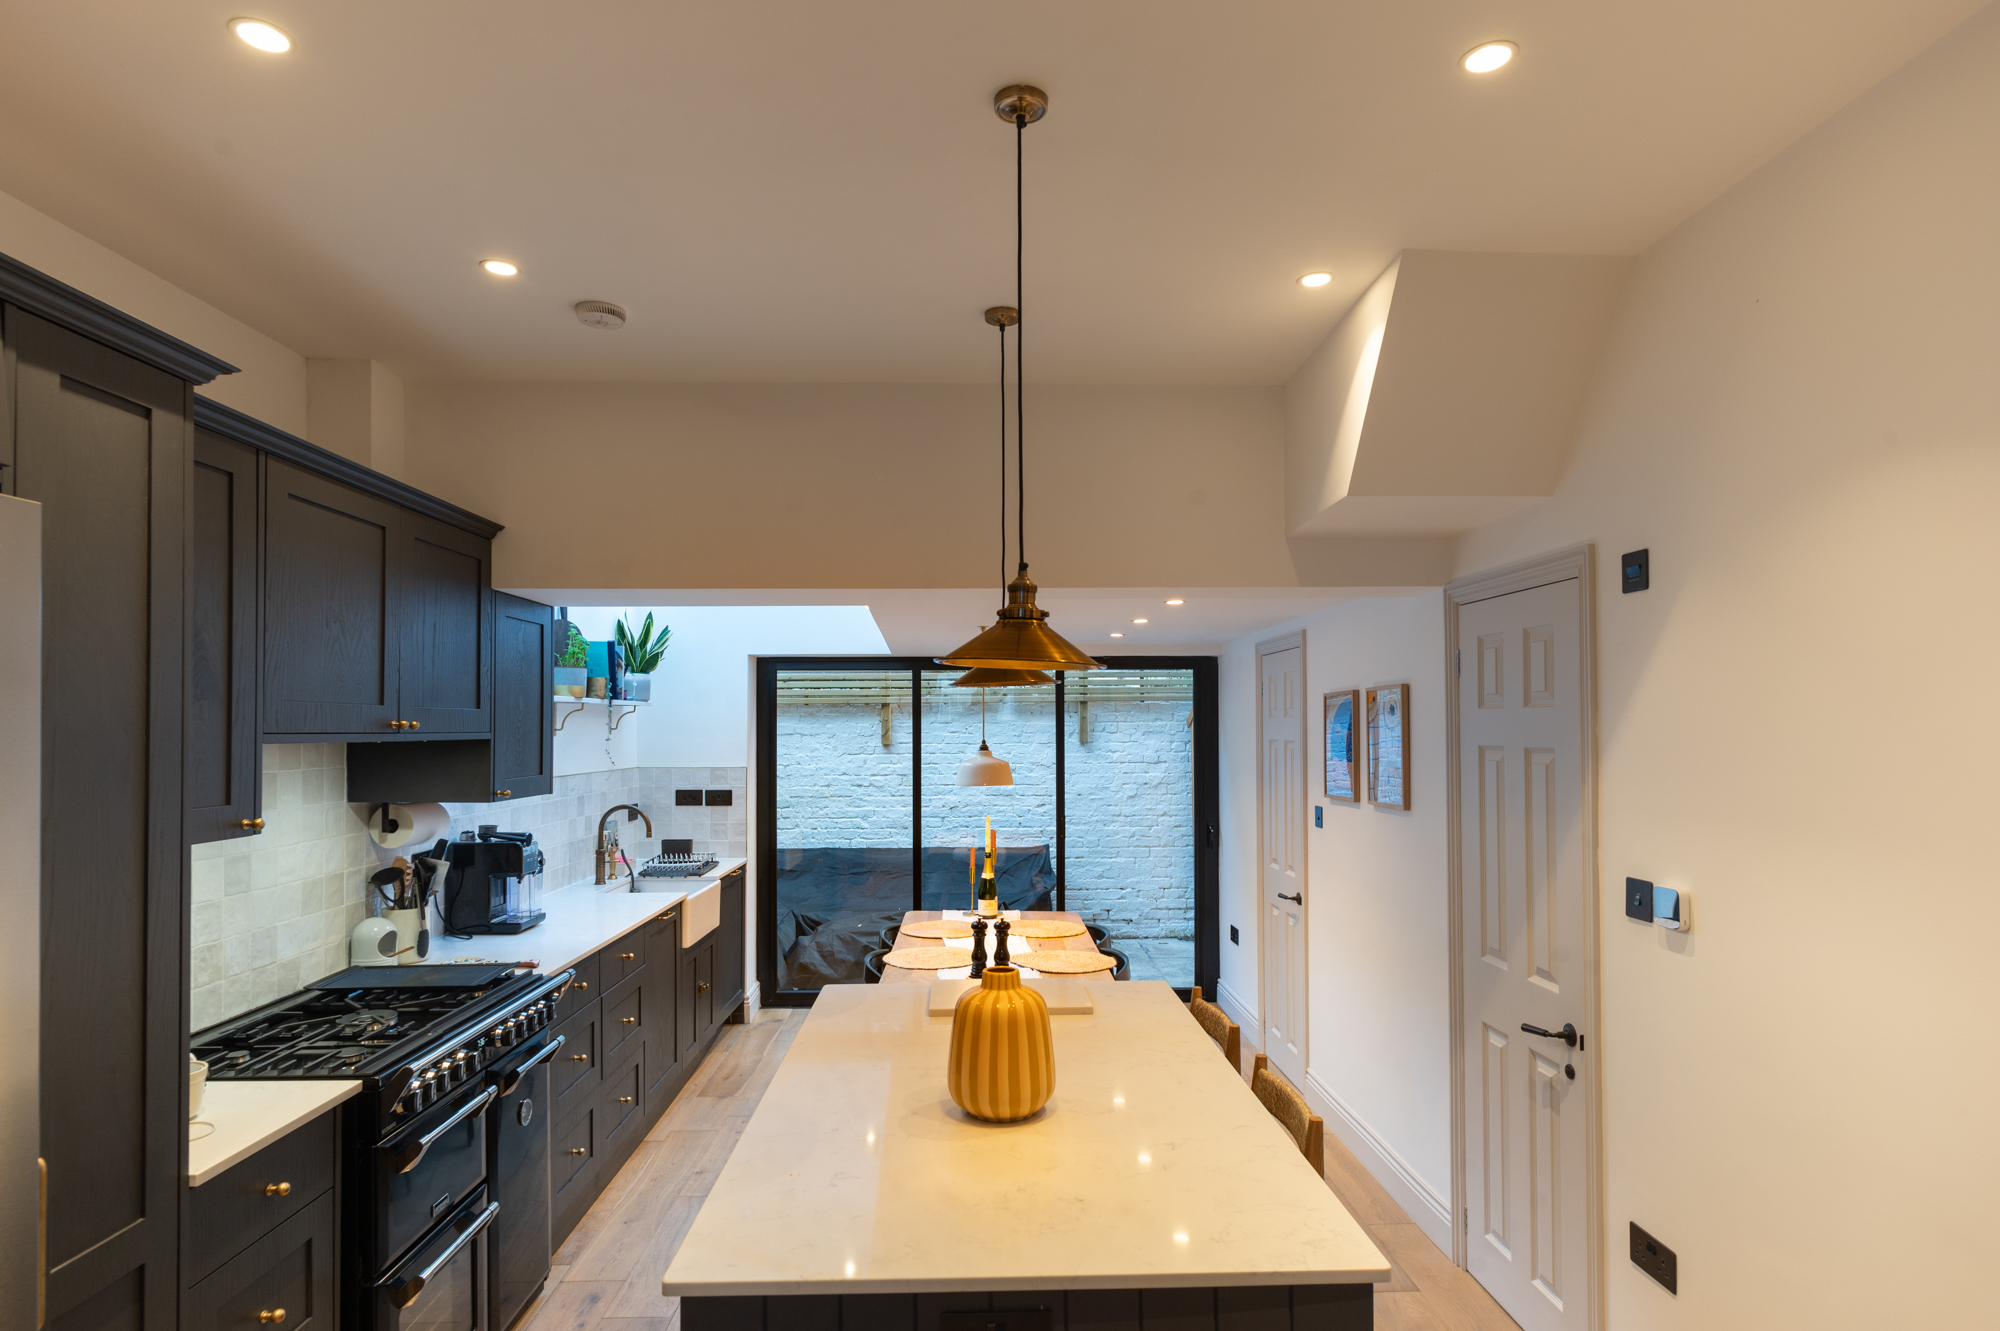
Fulham
Orbain Road SW6 7JZ
This project was completed in 2023 and the approximate budget was £101,000.
Learn more
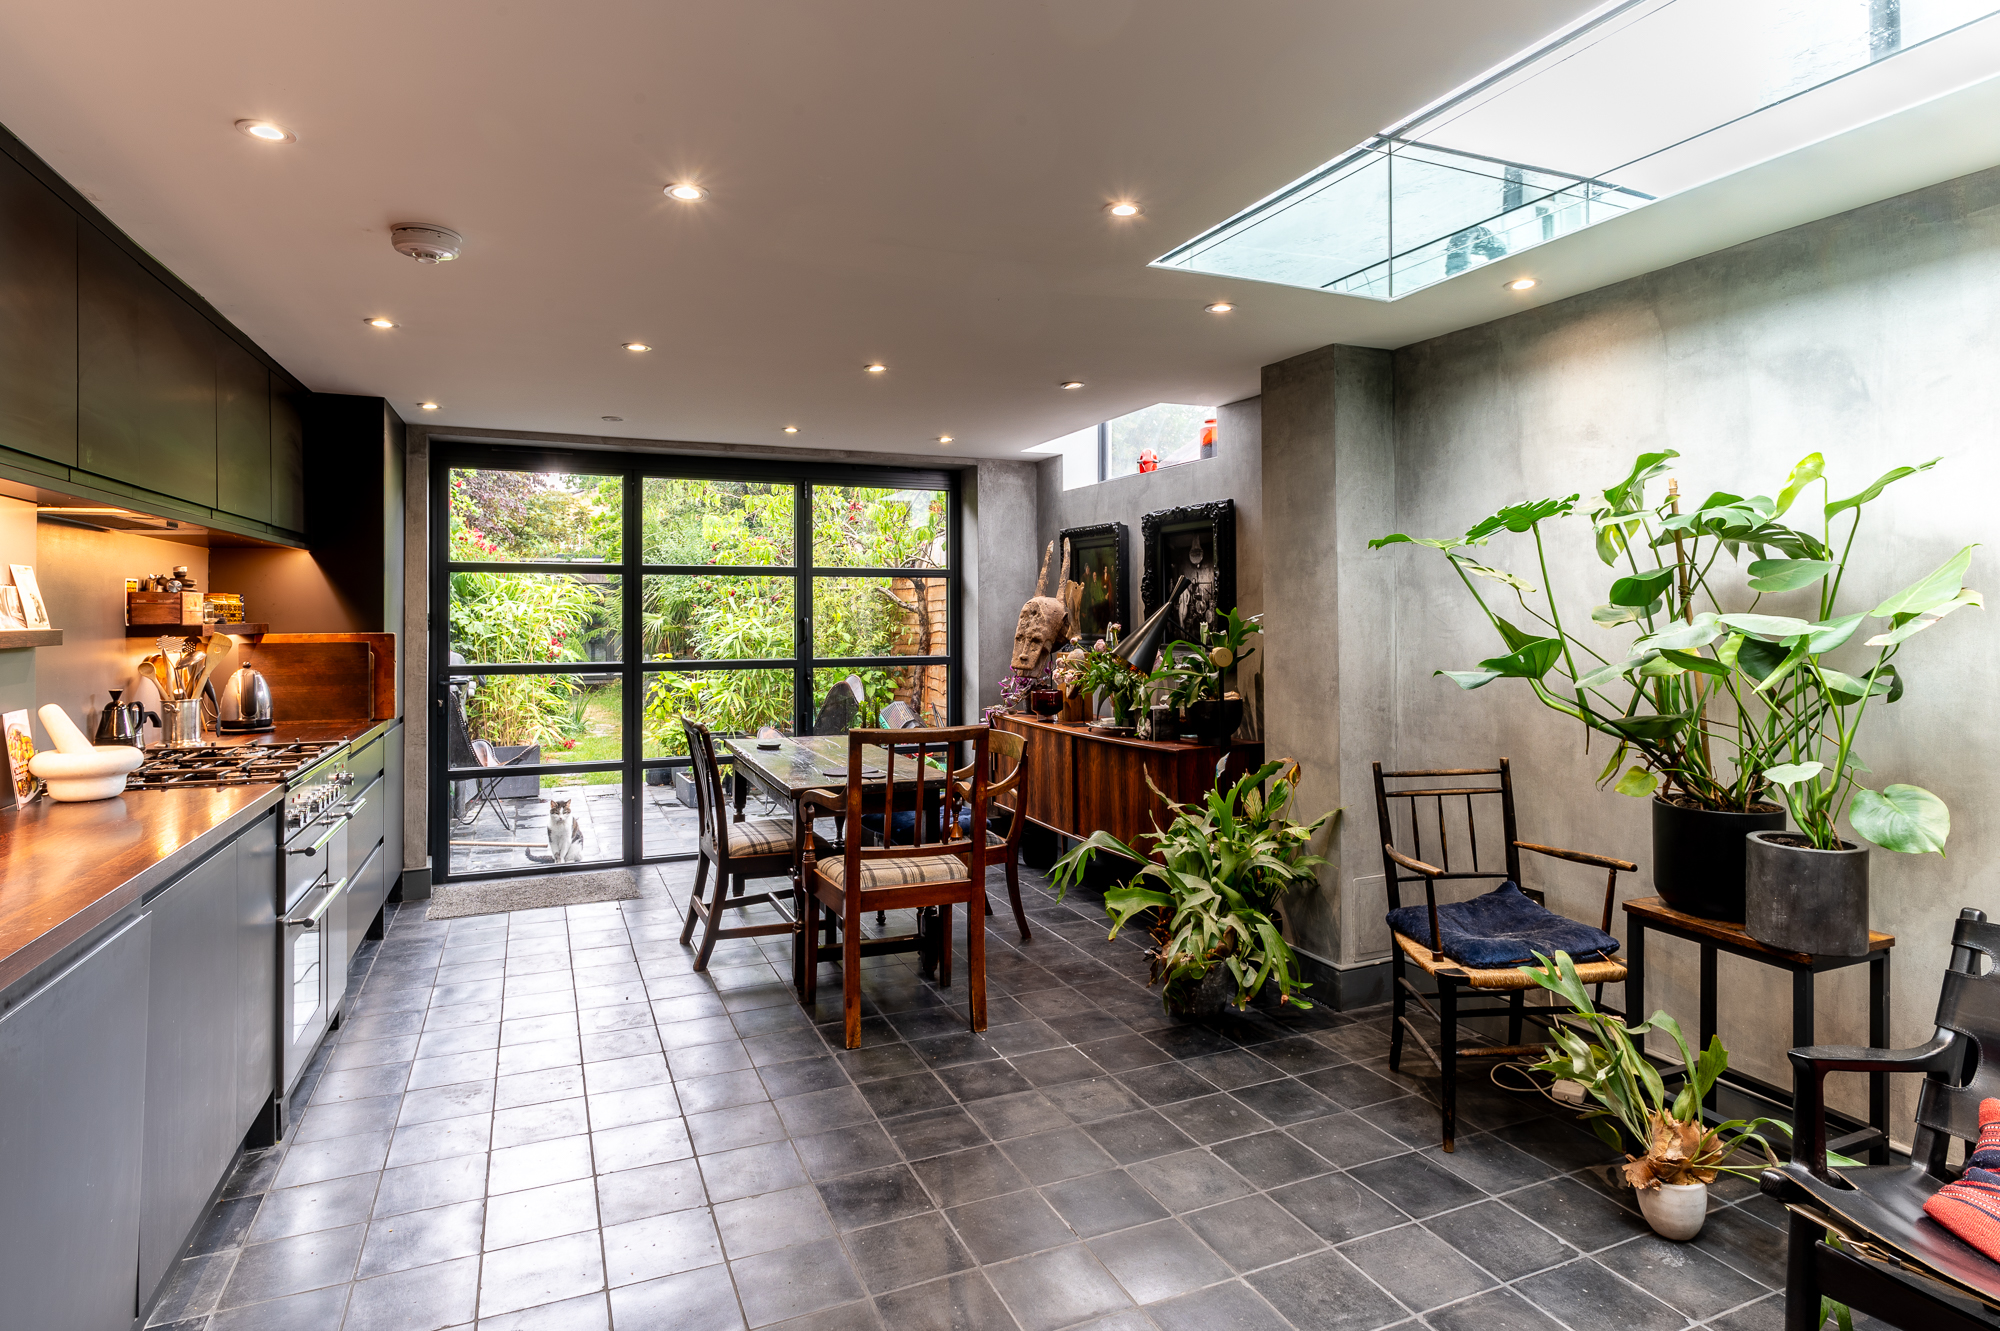
Lambeth
Hetherington Road SW4
We completed this stunning project for our client Angus in Lambeth.
Learn more
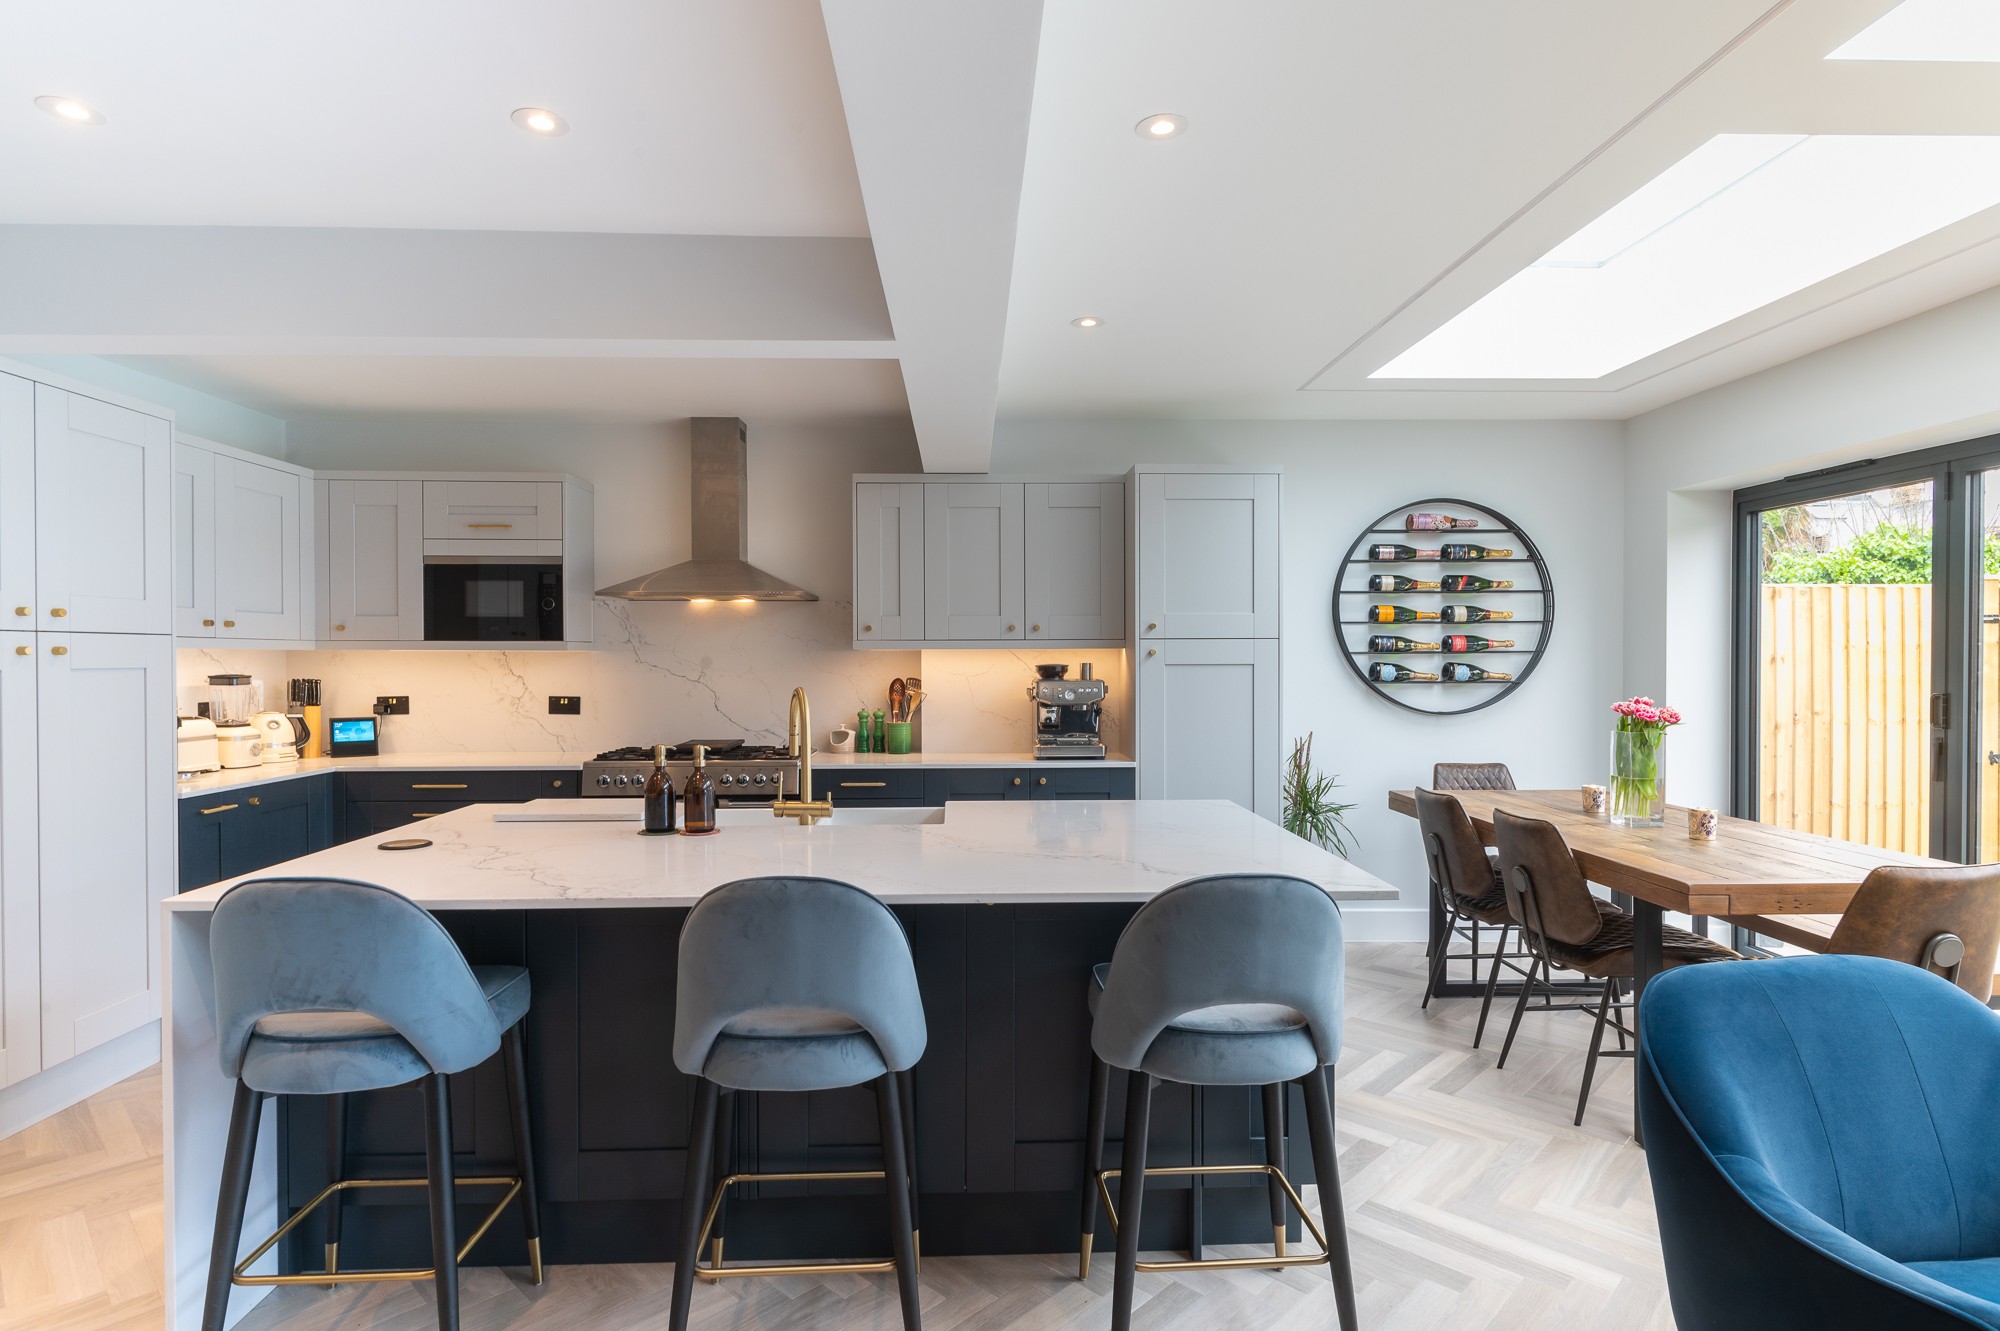
Teddington
Station Road SW4 7PA
We completed this exciting project for our clients on Station Road, a quaint residential area in the heart of Teddington.
Learn more
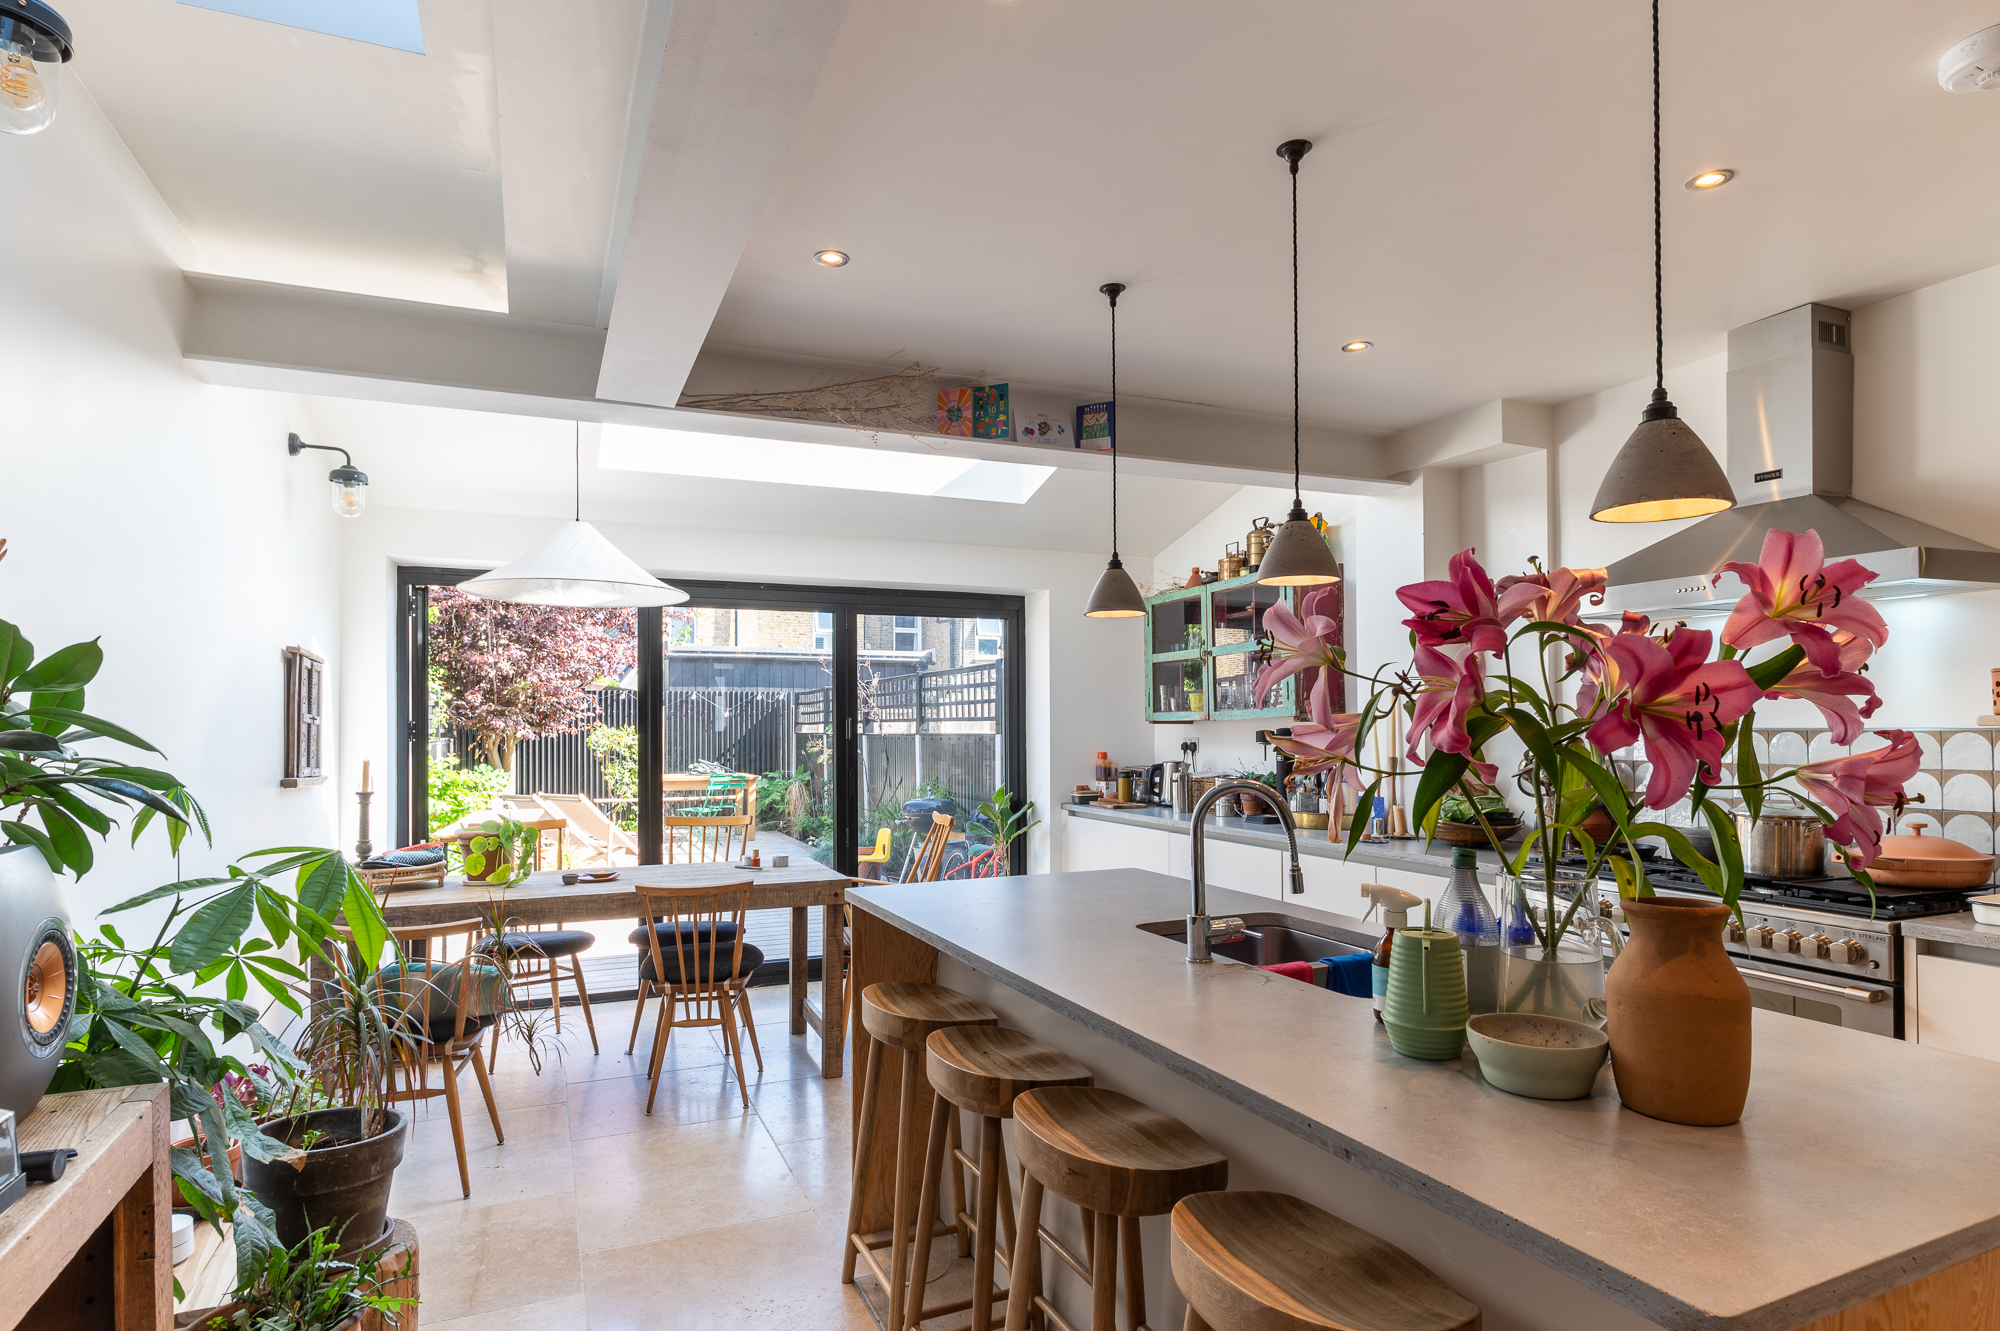
Leyton
Windsor Road E10
We completed this kitchen extension on Windsor Road, a charming residential street nestled in the heart of Leyton.
Learn more
Clapham
Hydethorpe Road SW12 0JF
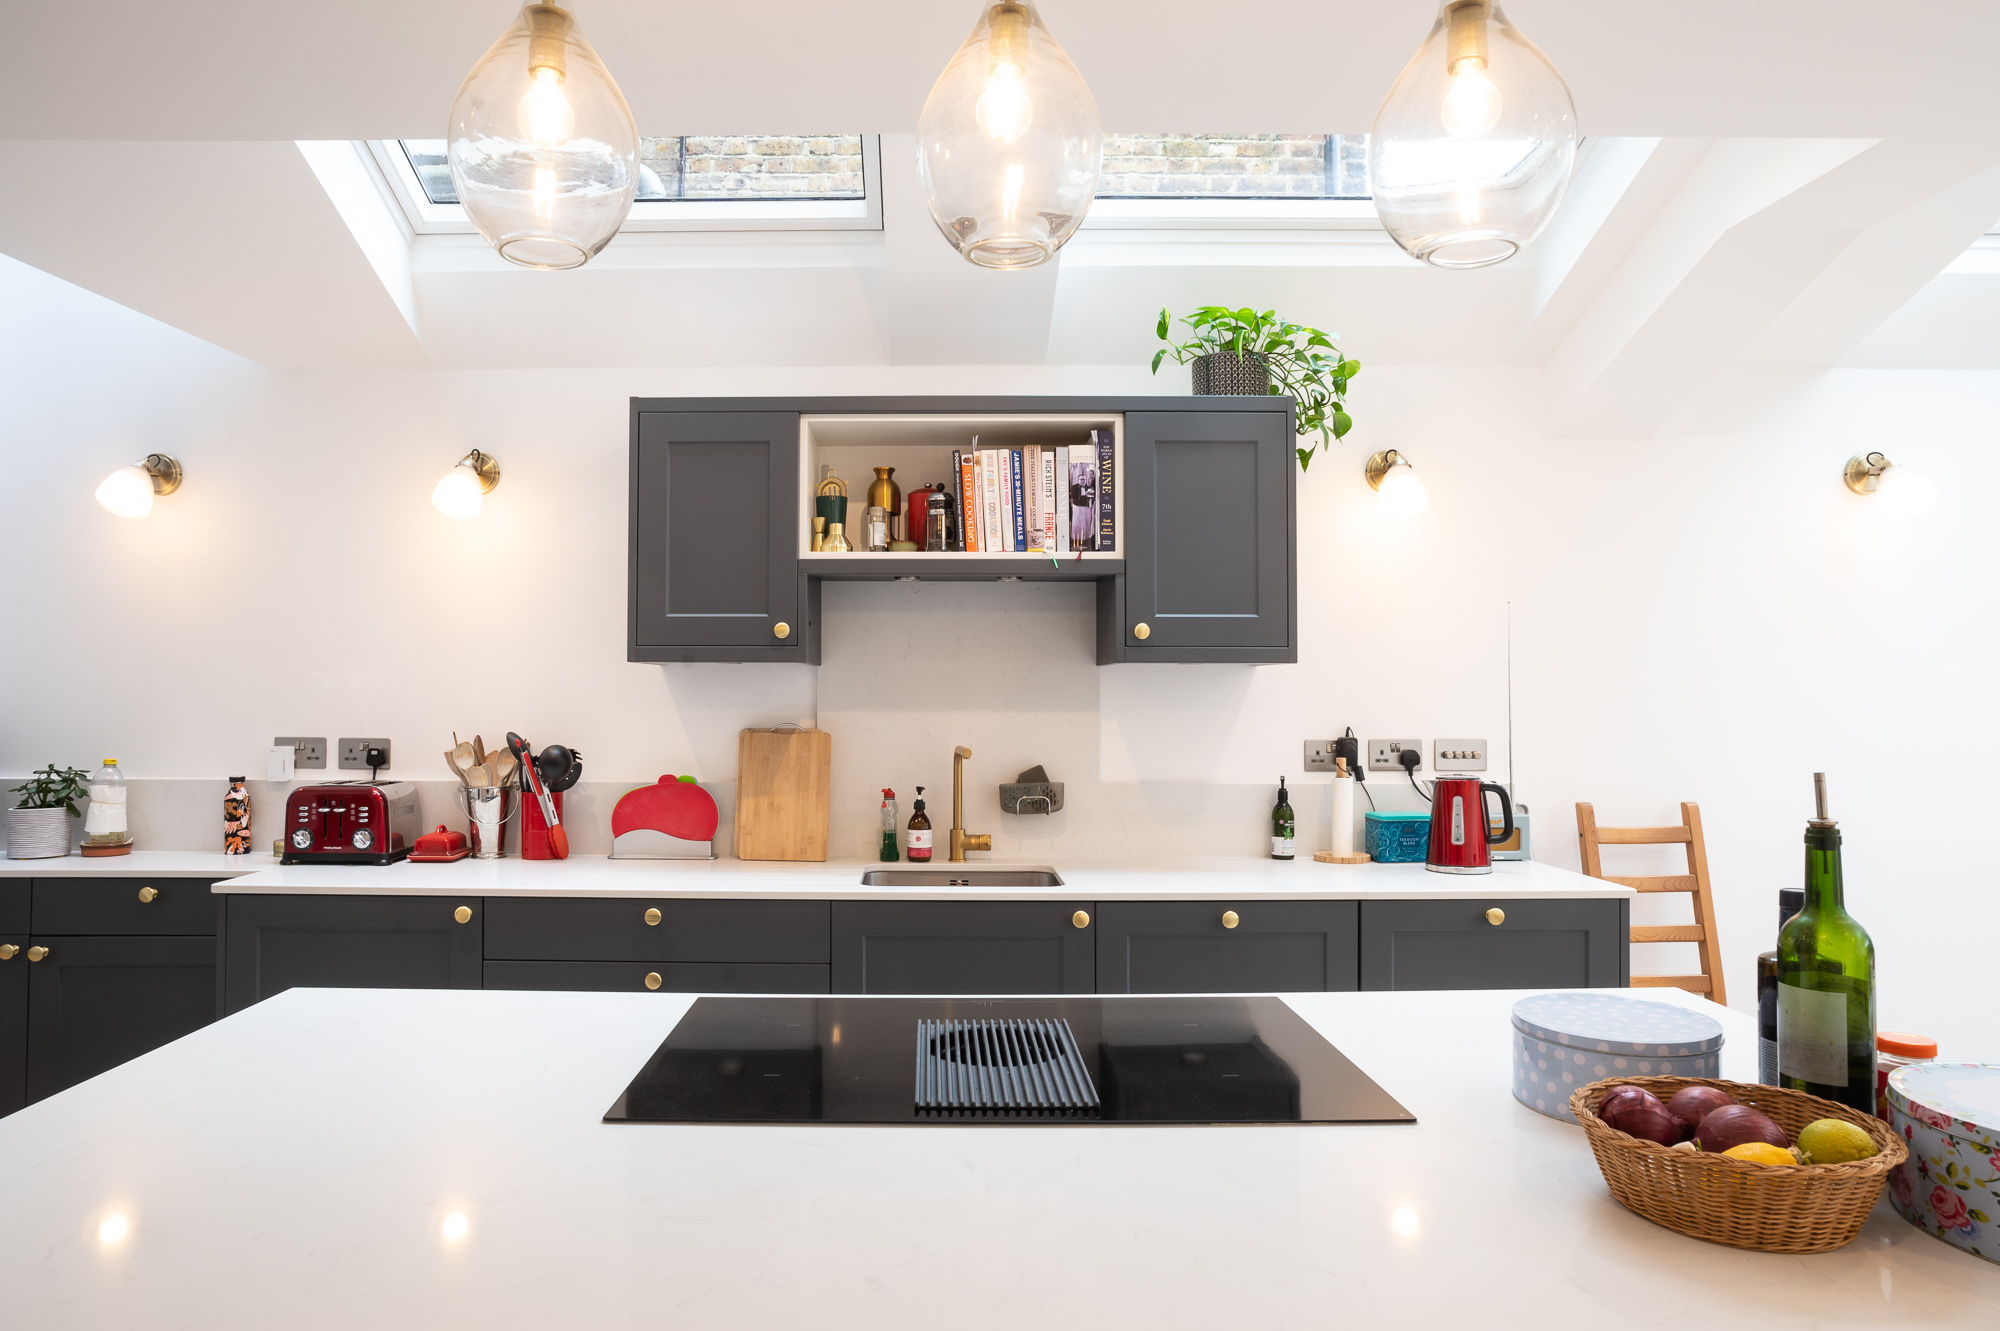
We did this kitchen extension project for our clients in Hydethorpe Road SW12.
Learn more

Fulham
Orbain Road SW6 7JZ
This project was completed in 2023 and the approximate budget was £101,000.
Learn more

Lambeth
Hetherington Road SW4
We completed this stunning project for our client Angus in Lambeth.
Learn more

Teddington
Station Road SW4 7PA
We completed this exciting project for our clients on Station Road, a quaint residential area in the heart of Teddington.
Learn more

Leyton
Windsor Road E10
We completed this kitchen extension on Windsor Road, a charming residential street nestled in the heart of Leyton.
Learn more

Clapham
Hydethorpe Road SW12 0JF
We did this kitchen extension project for our clients in Hydethorpe Road SW12.
Learn more
Build a Quote!
Let's get started with building your own bespoke quote for your dream extension. Tell us as much in detail as possible to get most accurate price.
Get StartedBuild a Quote!
Let's get started with building your own bespoke quote for your dream extension. Tell us as much in detail as possible to get most accurate price.
Get Started


